Why Install 5th String Spikes?
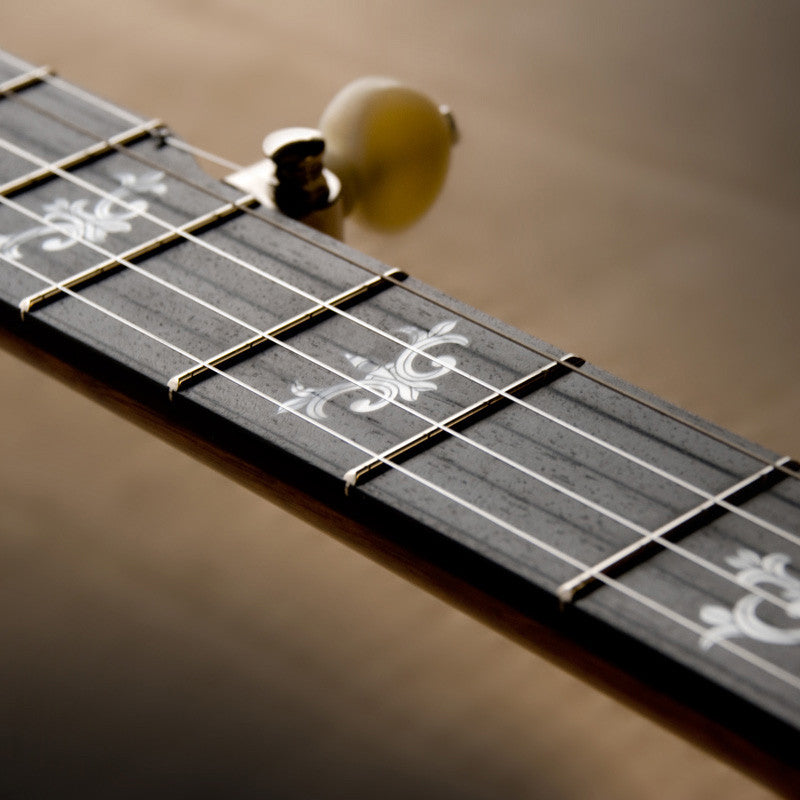
5th string spikes are a popular accessory for 5-string banjo players who want to easily and accurately capo the 5th string. A 5-string banjo is unique to other stringed instruments becasue the 5th string is shorter. Because of this, when you capo your banjo at for example the 2nd fret when you are in open G tuning in order to change the tuning of your banjo to open A, you still haven't changed the tuning of the 5th string. You must also capo the 5th string. By strategically placing these small metal spikes on your banjo's fingerboard, you can effectively shorten the vibrating length of the 5th string, allowing you to play in different keys without retuning. These spikes are most commonly placed at the 7th, 9th, and 10th frets. So in our example above about using a capo to change to open A tuning, after putting the traditional capo at the 2nd fret, you would then put the 5th string under the spike at the 7th fret. This is essentially the "2nd" fret for the 5th string and would change this string from a G note to an A note.
There are other ways to capo your 5th string such as using a 5th string capo, but this tool causes you to drill a large hole in the neck of your banjo and it can get in the way of your hand when you play up the neck. Using 5th string spikes can significantly expand your musical possibilities and simplify the playing of certain tunes.
Ready to get started?
Disclaimer: This job is not for the faint of heart, or for the inexperienced. It requires precision and a steady hand, as well as familiarity with the tools listed within the article. If you have any hesitation, we highly recommend speaking to an experienced banjo technician or luthier to carry out the work. Deering Banjo Company will not be responsible for any outcomes of attempts of this job.
This guide will walk you through the step-by-step process of installing 5th string spikes on your banjo. While it may seem daunting at first, with careful attention to detail and the right tools, you can achieve professional results.
Let's get started!
Tools Needed:
- spikes - you can buy them here
- 6" precision ruler
- 6" digital calipers
- Dremel / rotary tool
- #699 tapered dental bur
- 0.016" metal feeler gauge
- Small hammer (I recommend a 100g rock hammer)
- Freshly sharpened pencil
- Small smooth needle nose pliers
- Small fine jewelers file
Spike Marking & Drilling Process:
- With the 5th string still tuned up to pitch, use your 6" ruler to measure 1/32" from the string, toward the middle of the fingerboard (not on the outer side of the string)
- Now with the ruler in place, use your calipers to measure out the correct distance from the edge of the fret where you are installing the spike, to the edge of the ruler. If you measure using the inside measuring jaws (the smaller ones on the upper side of the calipers), then you can use the pointed ends to make a small mark in the fretboard. This will help guide your drilling later. See below these instructions for measuring specs.
- I have found that it helps visually to also use a pencil to mark the little divots you make with the caliper, so I always do that at this point.
- Next, you'll need to loosen and either remove the 5th string, or get it out of the way for the drilling process.
- Now you'll need to use your Dremel /rotary tool with the #699 tapered dental bur to very carefully drill the holes you just marked, very slightly angled toward the outside of the fingerboard. There is really no way to measure the depth so you will need to just try to make sure you don't go too deep. I like to use the end of the largest part of the taper as a depth guide. Basically, you want to drill about 3/4 of the length of the spike. This will give the spike some wood to sink into and help hold it in without glue, while the large part of the taper allows the hole to be very slightly wider than the spike's shaft, preventing any cracking or splitting of the wood.
Spike Installation Process:
- After drilling, you will need to tap the spikes in, using your small hammer. For this part, simply place the spike in the hole, with the head facing toward the outer side of the fingerboard, so that the spike will face upward and "cradle" the string while in use, then gently give it a few taps to begin sinking the spike in the hole.
- Now to finish installation, place your feeler gauge underneath the spike's head, and tap the spike in gently and slowly, using the feeler gauge to set the depth.
- If the spike bends during this part, you will need to pull it and use a new one to try again.
- Once the spike is seated, check to make sure it is not crooked. If it is, use your needle nose pliers to straighten it, then tap it down again using the feeler gauge in case it pulled up a little when you turned the spike.
- After spike is set and straight, now you will need to use your 6" ruler to check and make sure the spike is not sitting higher than the fret. To do this, place your ruler spanning between the two frets on either side of the spike, directly on top of the spike, and see if the ruler rocks back & forth. If it does, the spike is too high, and will need to be slightly tapped down. If it does not rock, you are all good to move onto the next spike.
- Once all spikes are installed as detailed above, you can now tune the 5th string back up and check to make sure the string can get underneath all the spikes. If they all slide underneath and work as they should, then you are finished!
- In some cases, the spike's head may be too thick, causing the spike(s) to sit too high, even when it's getting too low for the string to slide under. In this case, you'll need to gently wiggle the spike out very slightly, then file the top of the spike until you reach desired results.
- These directions are provided as a courtesy only. We accept no responsibility for customer installation of spikes or any possibly damage to the instrument that might occur during this process.






i JUST BOUGHT A CALICO AND HAD SPIKES AT 7, 9, 10. They also put one at the fifth fret. Is that normal. Also they seem to be too deep. I can’t get the string under the spikes.
prob put it too close to string.or maybe not put in deep enough
I have spikes installed as you show. The problem I have is trying to play the note where the spike is installed(not engaged).
I run into to the spike, have very little room
between the spike and the fret, and end up
with a compromised note. Any suggestions???
Leave a comment