The Ergonomic Subtleties of Playing Banjo
OK, so you are saying to yourself that “banjo” and “subtle” are an oxymoron, right? How can a banjo in any way be connected with that word? Well, folks, just as “still waters run deep” so it is with our beloved banjo. If you aren’t paying attention to those subtle little details of playing the banjo, you may just be working too hard!
BODY PLAYING POSITION:
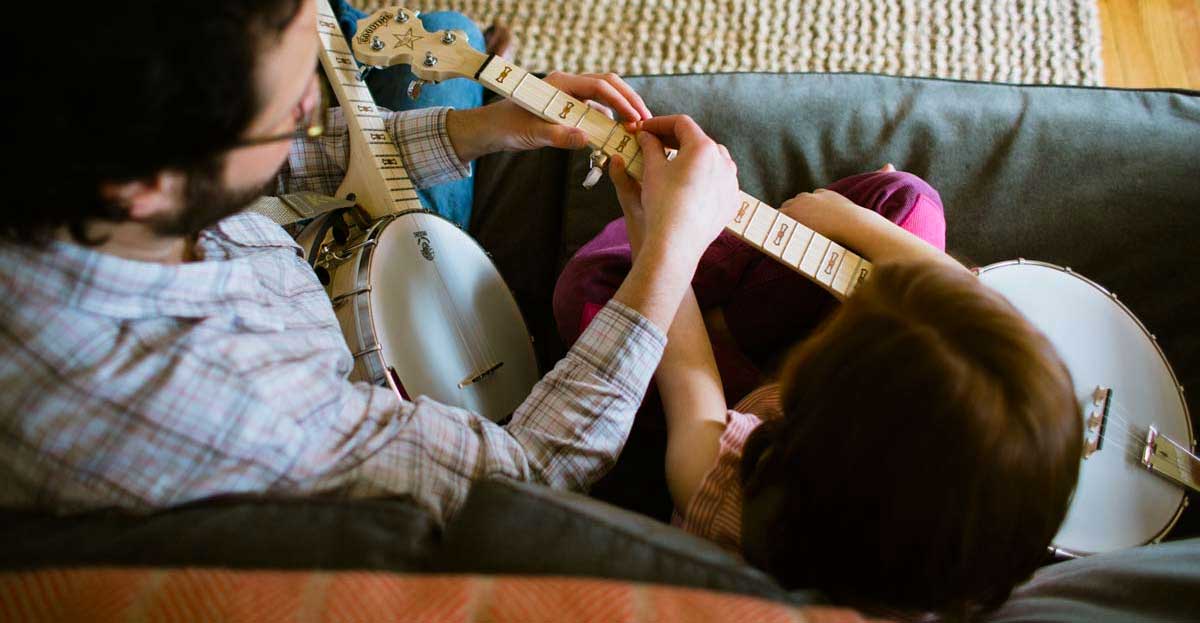
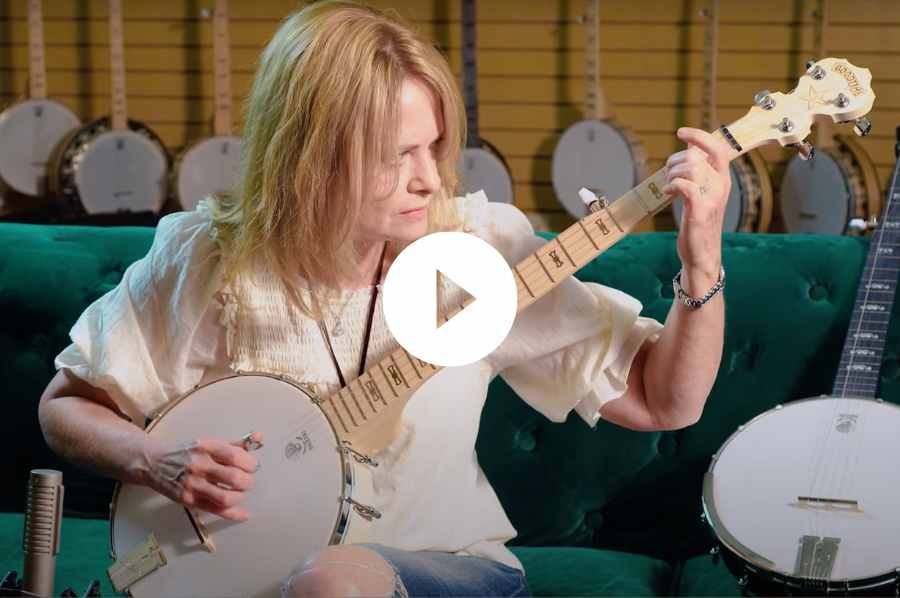
One of the most critical factors to playing the banjo is playing position. A very nice lady asked me about this question on our Support Forum not too long ago. It prompted me to think that I had not shared this point with the rest of you. Try focusing on some of these tips the next time you sit down to play your banjo.
1. You should be sitting in a firm chair with no chair arms. This allows your body to have freedom of movement and good stability. You can use a stool but make sure you can rest your feet comfortably for good stability. Have a good back on the chair is optimum so you are well supported. Let’s face it; banjos are, for the most part, heavy. Having something firm against your back will help you sit up straight.
2. Use a banjo strap. Some folks tell me, “But I sit when I play, so I don’t need a strap.”
What they are addressing is the weight of the banjo. What I am addressing is the ease of movement for your fretting hand. If you are supporting the neck of the banjo as well as trying to move freely up and down the neck as you play, your hand is doing two jobs. A strap that is properly adjusted will allow the banjo to be well supported and give your hands their much needed freedom for playing. If you need to lift the pressure of the banjo off your lap, just adjust your strap accordingly to make it more comfortable for you to play.
3. The banjo should sit about 45 degrees relative to your body while sitting in your lap. The banjo is not a guitar. I can always tell a guitar player when he comes into my showroom. He sits down and cants the banjo onto his thigh which is how he holds his guitar. By placing the banjo in the middle of your lap, you give your arm a much easier access to the neck. Try it and you will see what I mean. You will be able to sit up straighter and not strain your back. Your body will thank you for just this one little change.
4. Try and sit with your shoulders in a relaxed position and sitting fairly straight. This will take the strain off your back. Using the strap just nails this one down.
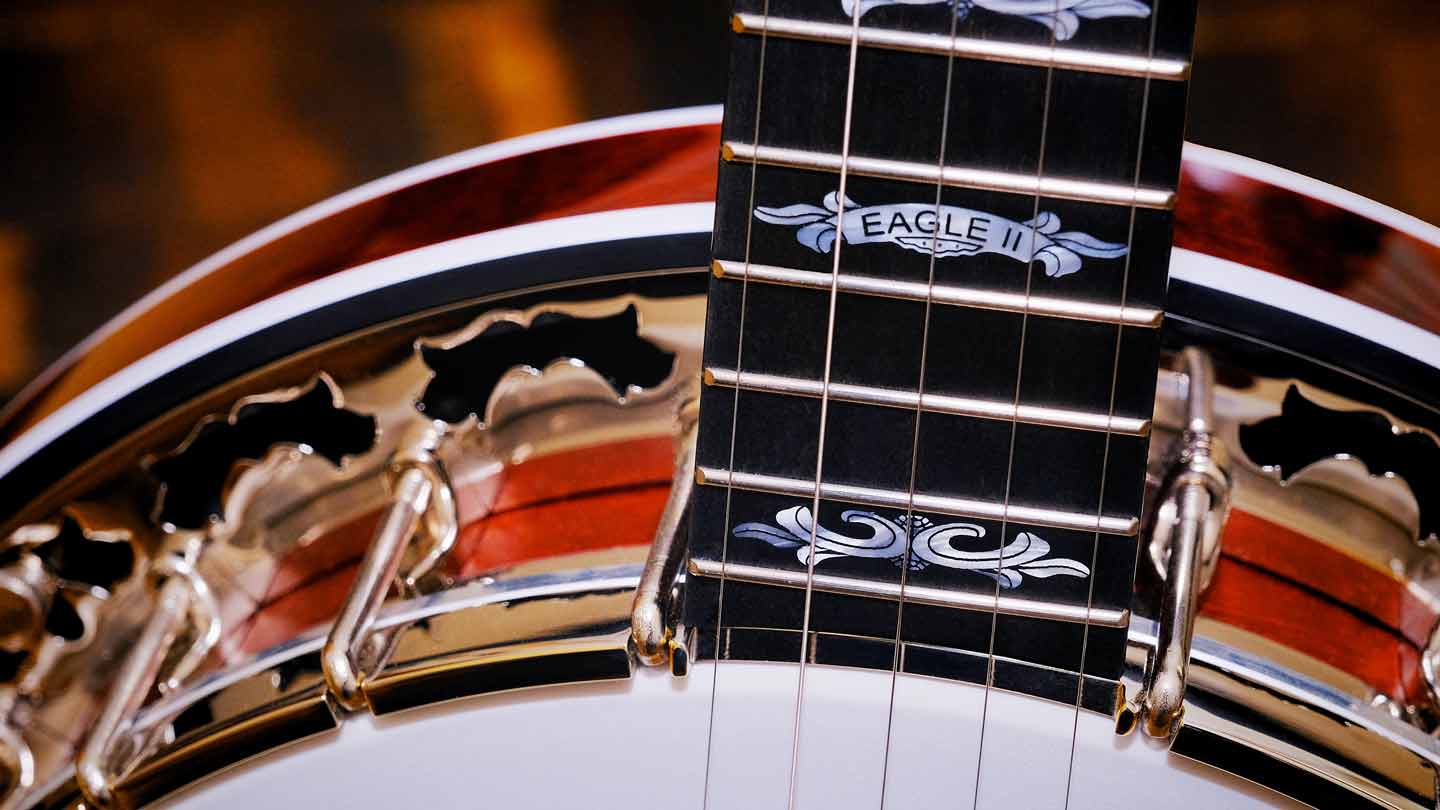
5. With many upper line banjos, there are dots on the side of the neck for you to use to help your fingers reach the right frets. These will help prevent you from leaning over and straining your neck while you play.
6. If your banjo does not have side dots, try canting the pot just a bit to help so you see the fret markers instead of leaning over to prevent neck and back strain.
HAND POSITION:
Thumb placement is something that many folks forget to consider. Many callers complain about not having long enough fingers to play the banjo. I know…I did too. But my teacher asked me to show him how I hold the banjo. He caught the problem immediately. I had my thumb in the wrong place.
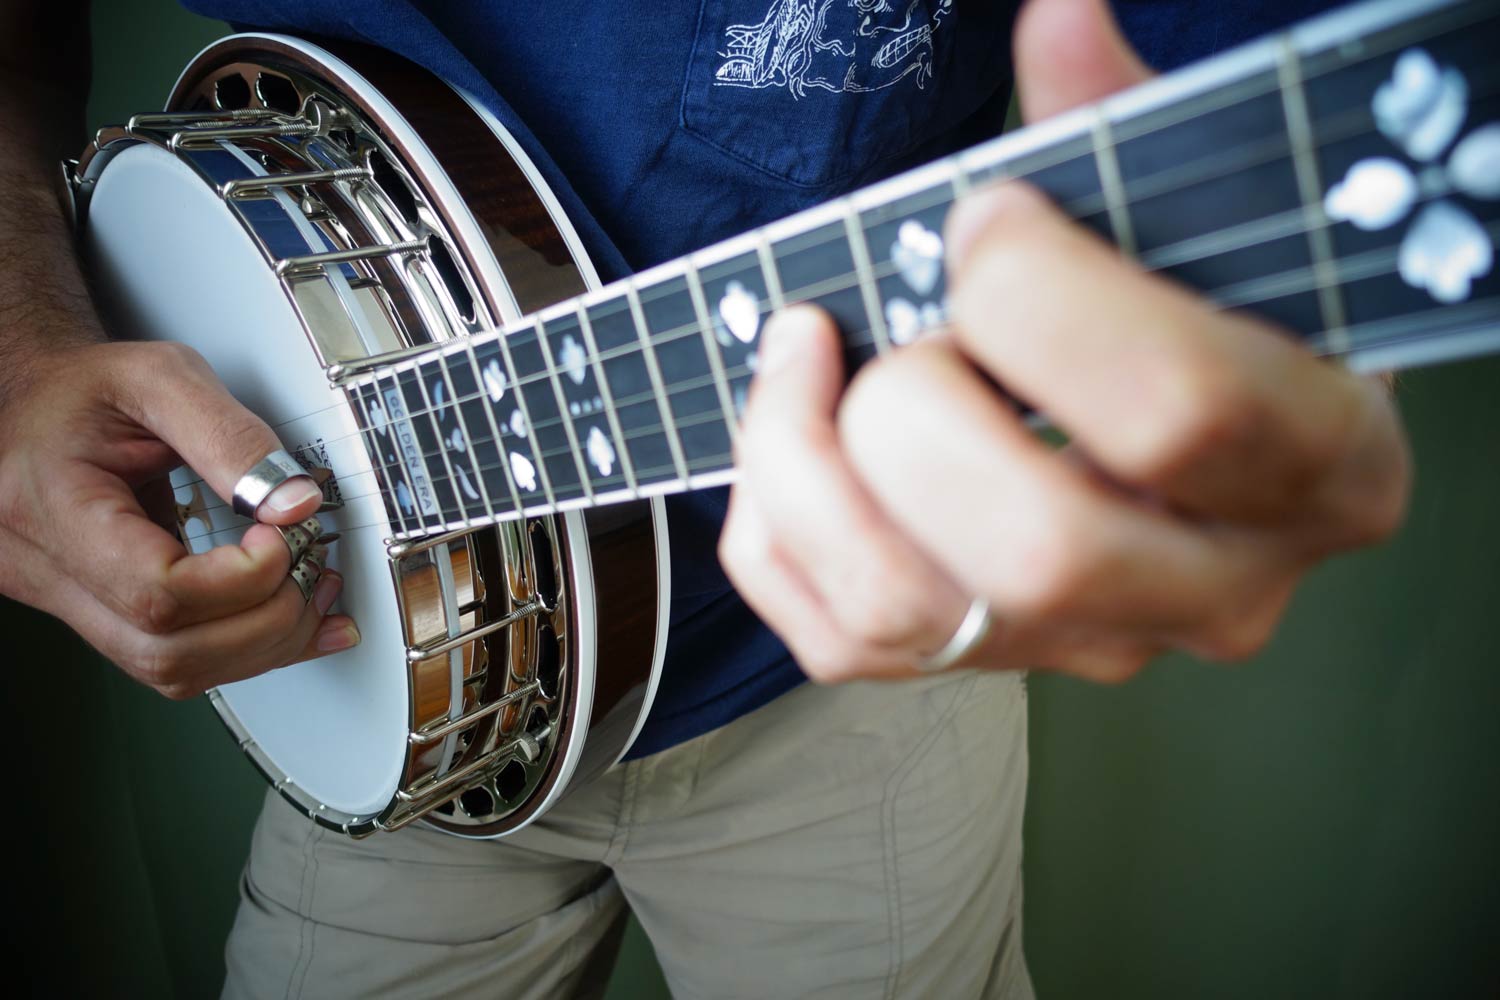
1. The thumb should be at the middle of the back of the neck; thinking of the neck as the “spine.” When you place your thumb at the middle, your fingers have a shorter distance to extend. The thumb then acts as a fulcrum from which you can pivot so that your hand comes OVER the top of the neck and your fingers should come DOWN VERICALLY over the top of the strings for a nice, clean fret.
This is so important that Jens Kruger actually had us put a V-shaped neck on the Tenbrooks banjos so that the player would have an “indexing point” for his thumb to find the best playing position. Because Jens is knows as a virtuoso on the banjo, his focus on thumb position can assure us of its importance.
I know you will see players who put their thumb on the far side of the neck. They are essentially holding the neck in the web of their hand. While it can be done, they usually have much bigger hands or longer fingers.
2. Muddy/fuzzy notes can occur if the fingers of your hand are “leaning” over the strings instead of coming down over the strings. What happens here is that the pads of your fingers are coming into contact with the string next to the one you are fretting. This causes that string to “ring” in response to the pad of the finger touching it. By bringing your fingers up and over so that just the tips of the fingers come into contact with the strings, you will have nice clean notes.
3. Cut your fingernails! I know this sounds basic, but you would be surprised how fast your fingernails can grow. If you trim them so that they do not extend over the pad of the finger, you will have a nice clean sound when you fret. The nails can prevent the fingers from coming into good contact with the strings. Another benefit of this is that you will not wear “valleys” into the fingerboard. Over time, believe it or not, the fingernails can carve out valleys in even ebony fingerboards. Trimming your nails will solve two very important banjo playing issues.
4. Your elbow should come in close to your body, in more or less a vertical position while playing. Again, this will allow your hand and thumb greater ease while playing.
5. Be careful to keep your wrist in a straight alignment with your hand. If you angle the wrist to reach the strings, you run the possible risk of injury. I had this problem when I first started playing. I began to get soreness in the thumb to wrist region. I was told to look at myself in a mirror while playing to watch that I kept the wrist/hand relationship straight on approach when plucking. This took the pain away and it has never returned. It is similar to what folks who have carpel tunnel syndrome complain of so focus on this region may help prevent some future health problems.
HOW MUCH PRESSURE DO I USE WHEN PLAYING?
I am fond of telling the folks who come into our showroom that “You don’t have to be a linebacker to play the banjo.” Why do I say this? Because a well made banjo, the kind we make here at Deering banjos, is a very responsive instrument.
1. Customers sometimes complain about notes sounding “sharp” when they play. This can be caused by using too much pressure on the string when you play. What you are essentially doing is “stretching” the string over the fret instead of have it come into a firm contact with the string with less pressure. If you have this problem, play the string as you usually do. Now play it again, but back off the pressure just a bit. Continue this process until you hear the note ring true and you will begin to understand how much pressure you need.
2. Visitors to our factory sometimes get a “2-finger banjo lesson.” The simple Barre chords that we teach with this method are easy to learn but you do have to learn how much pressure you need to make them ring clear. Again, remember that the strings need to ALL come into contact with the frets. When forming a Barre chord, you have a ridged finger coming into contact with straight frets. You learn, over time, how much pressure you need to flatten your finger so that it connects with all the strings so that they meet the fret at the same time.
3. The banjo head is very responsive the vibration of the strings through the bridge. A good firm strum will sound better than a massive amount of energy. Even a nice, even, light pressure will give you the grandest sparkling sound. If the practice this strumming, you will learn how much pressure you need to give the strings to get the sound you like the best.
4. Pushing or pulling on the string can cause the note to be sharp. Again, remember to come down over the top of the string. The pushing/pulling rather than direct, downward pressure can cause the notes to be sharp. Now, there is a playing technique that is called “a pull” so let us not confuse this with what I am talking about. A “push” or a “pull” (sometimes called choking/bending) is a way to distort a note for intentional musical variety.
Many of these suggestions have come about through my experience as a banjo player or through customer interaction. Each of you may have personal health concerns that prevent you from using any of these ideas. It is always best to consult your physician if you experience any problems. These suggestions are meant to give you some ideas to bring more joy to your journey with banjo. It is, after all, for all of us about having fun with a banjo!




Great, Bill. I am glad you were able to solve the problem with some string gauge changes. Thanks for sharing.
Carolina,
You don’t address what kind of strap should be used. I’m currently using a some what inexpensive full cradle strap on my 5 string Deluxe. Some websites say this type of strap will mute the tone ring. I don’t think at this point in my playing career I would notice the difference, but I was thinking of asking the family for a fancier one for Christmas. I’ve seen straps that wrap around the head brackets, but it seems to me that would put stress on the brackets. Additionally, my strap goes over my left shoulder, around my back, and under my right arm. I’ve seen pictures and video of Earl Scruggs with his strap slung over just his right shoulder. What’s the word on straps?
Thanks,
Ken Perrotta
I have an Eagle II. I’ve been playing some classical music lately and needed better intonation on the 4th string. So I switched to a GHS 16 gauge phosphor bronze string. MUCH better.
Hi Jeff,
I am glad the strap tip was good for you. It really makes life easier..and boy, we can always use something that will do that! I appreciate your reading the article and taking the time to comment.
Great, Brian! Thanks for letting me know. That one is really from my first banjo teacher and I was happy to share it with you all. I am glad it helped. :-)
Leave a comment